
USA
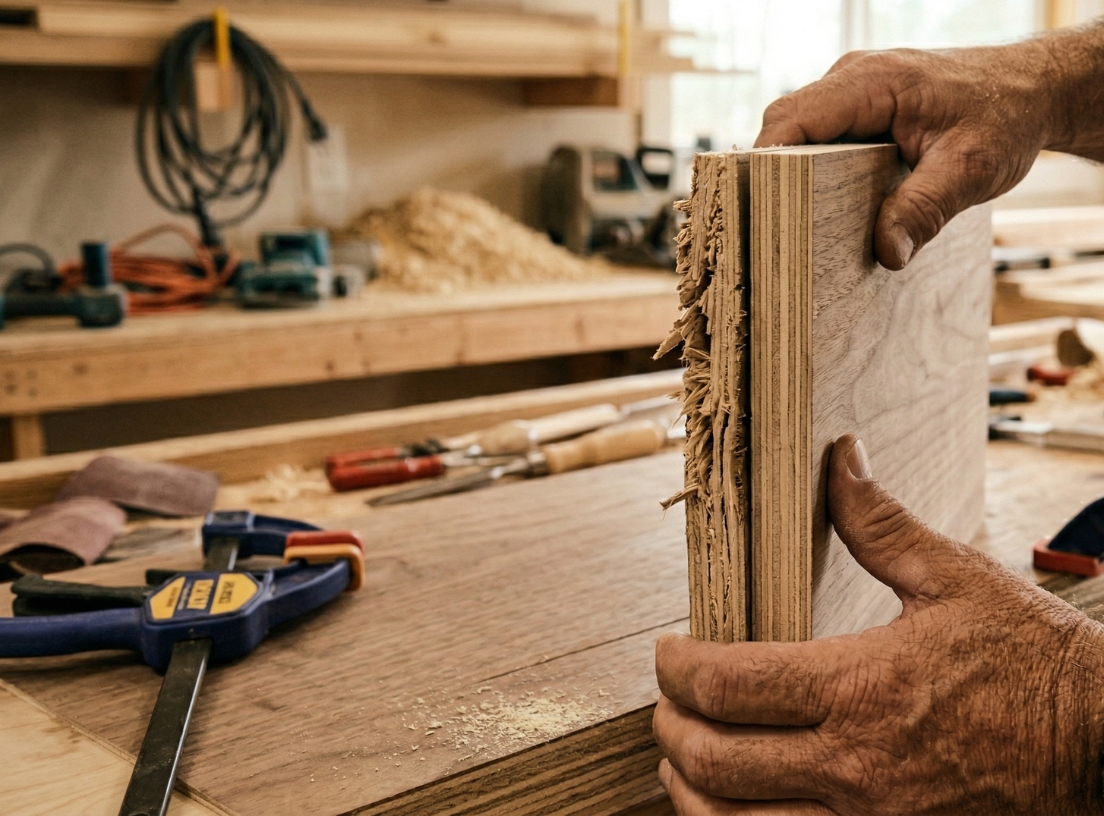
If your plywood splinters when cutting, you’re not doing anything unusual, it’s one of the most common frustrations in woodworking.
Those chipped, torn edges can ruin the look of your project, especially when working on cabinets, furniture, or visible surfaces.
The good news?
Splintering is predictable and preventable.
Let’s break down why it happens and how to fix it.
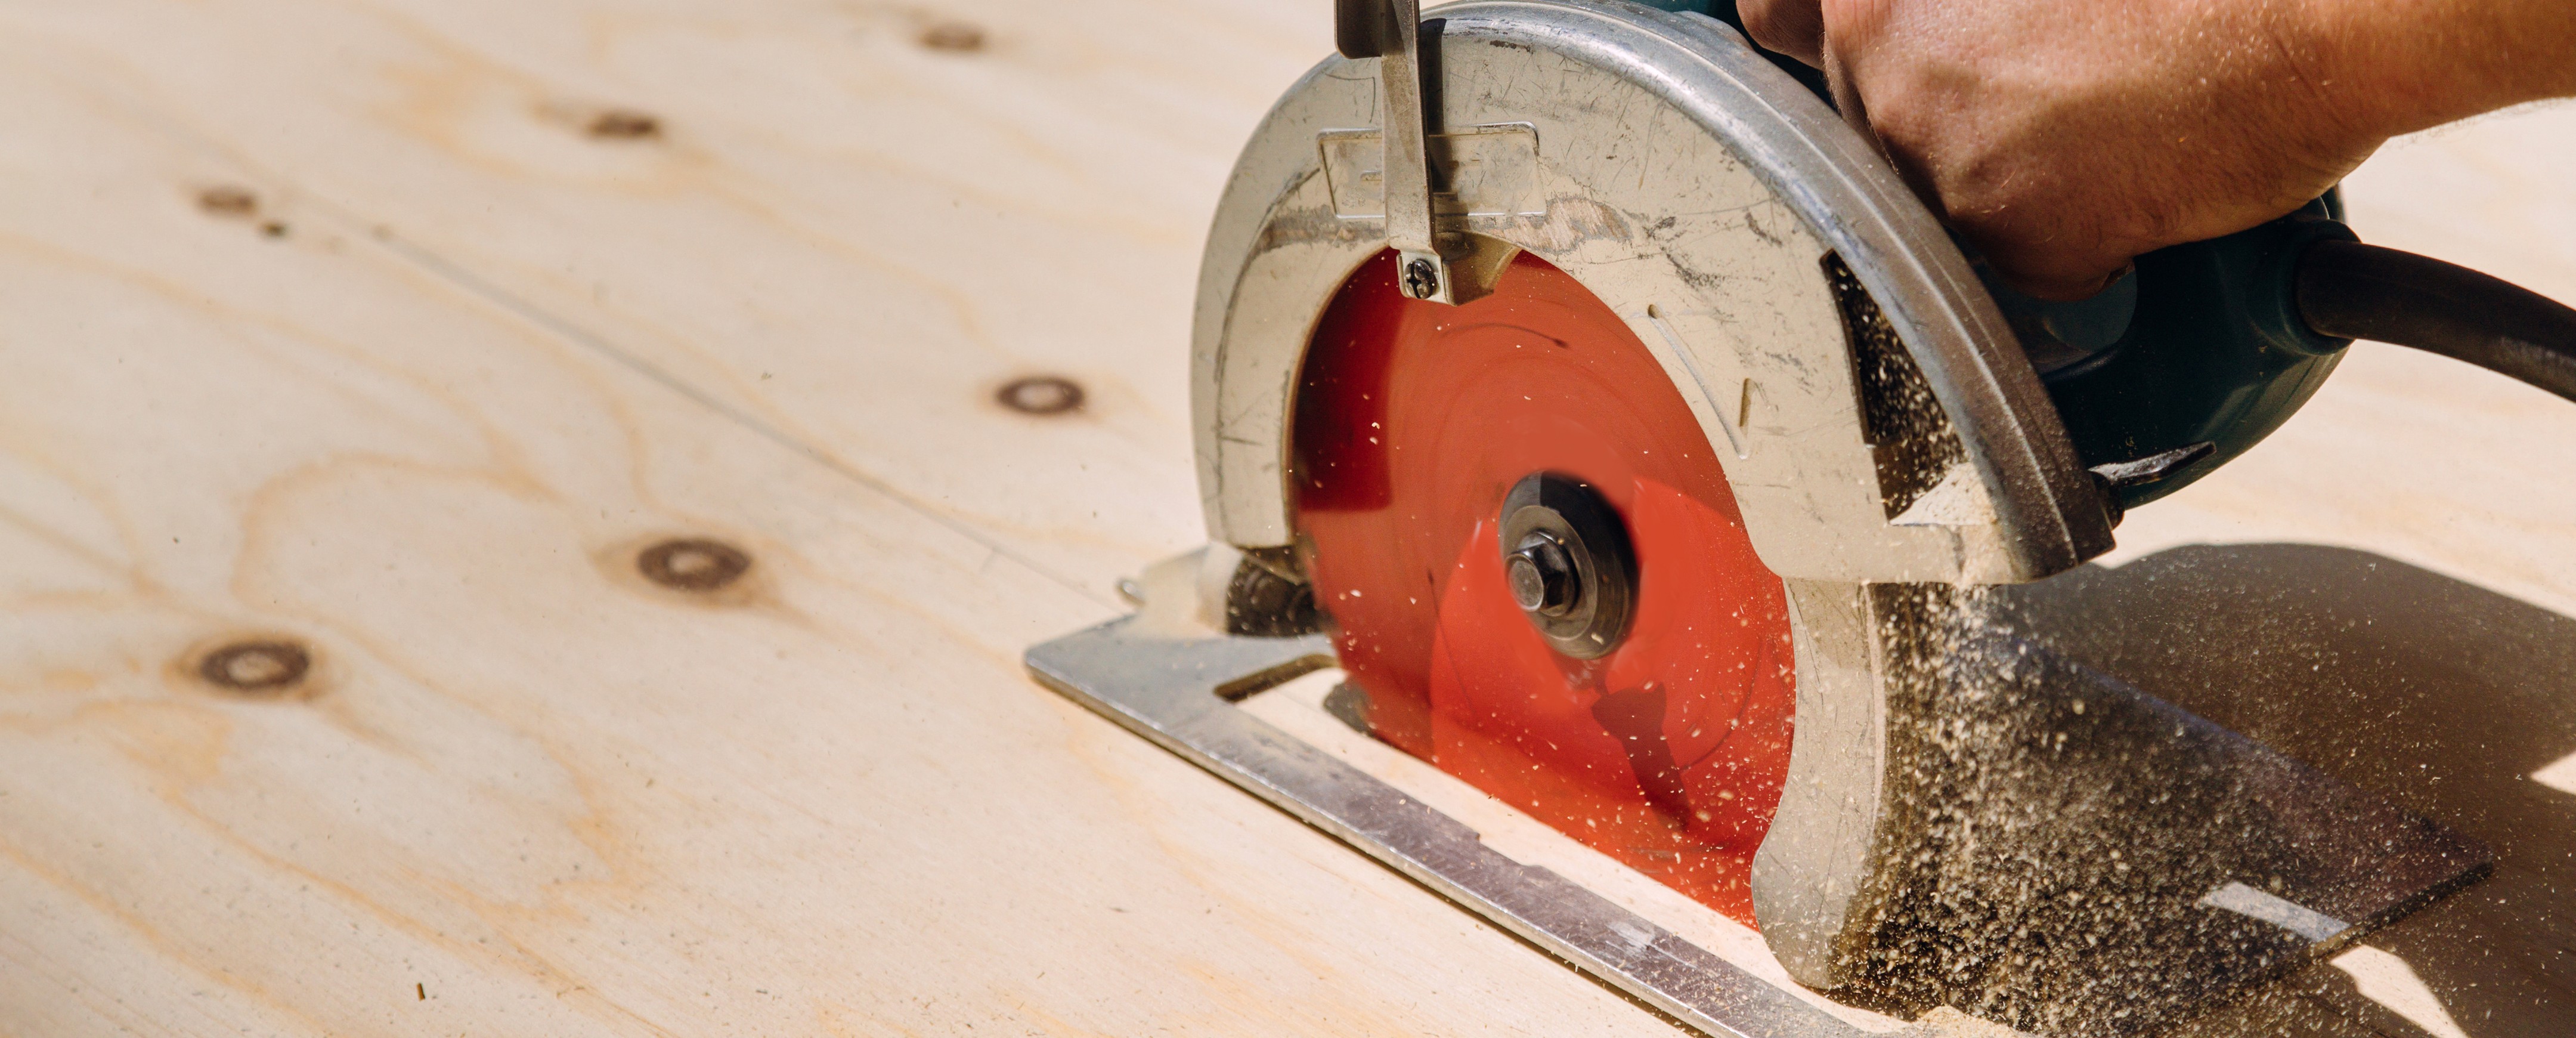
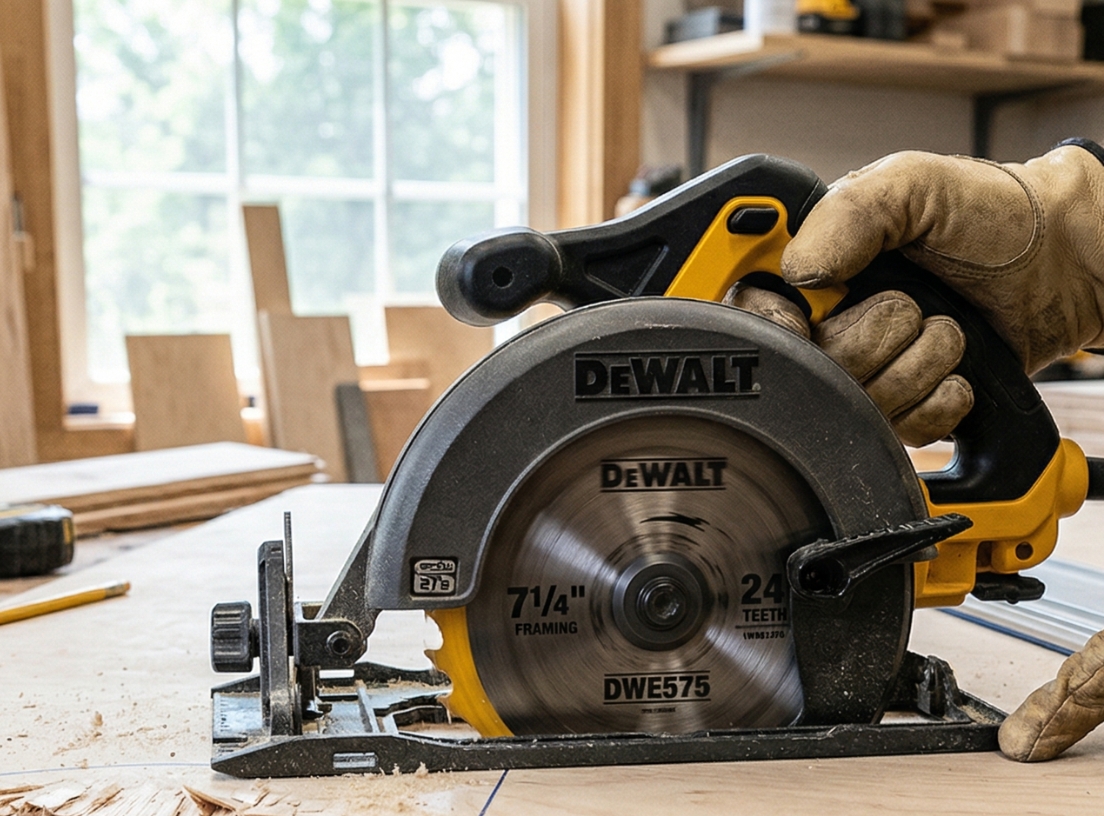
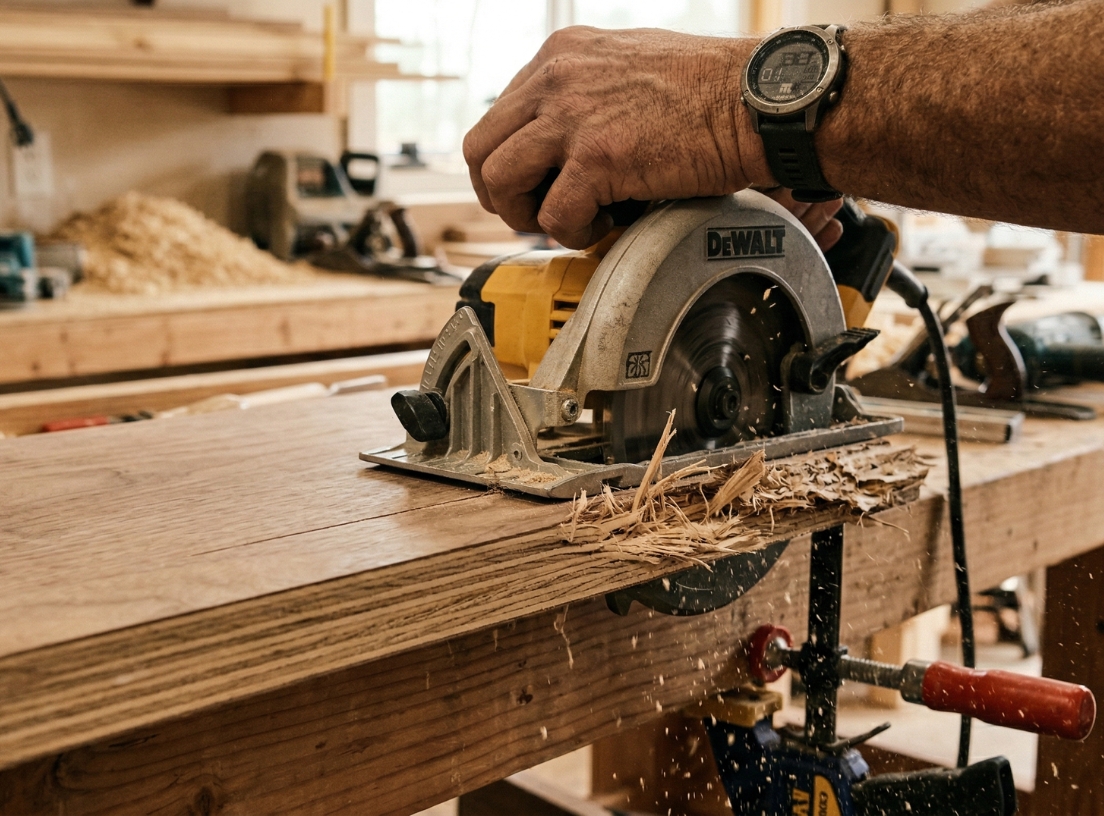
Plywood is made of thin layers (veneers), and when your blade isn’t sharp or fine enough, it doesn’t cut cleanly, it tears.
What to do:
Splintering usually appears on the side where the blade exits the material.
That’s why one side often looks clean… and the other doesn’t.
Fix it:
If the panel moves while cutting, it increases tear-out and uneven edges.
Fix it:
Rushing the cut increases friction and tearing.
Fix it:
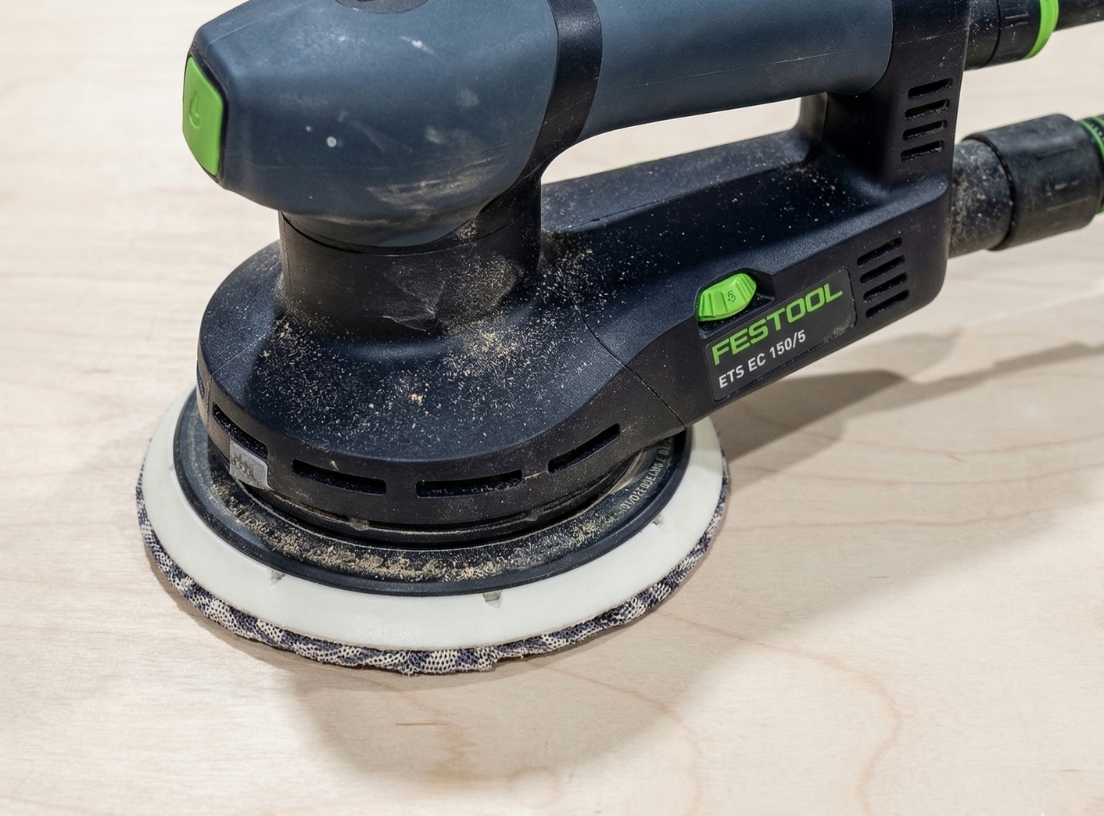
Small adjustments can make a huge difference.
Try this:
Plywood splintering isn’t random — it’s the result of how the material is cut.
With the right blade, proper setup, and a few simple techniques, you can get clean, professional cuts every time.
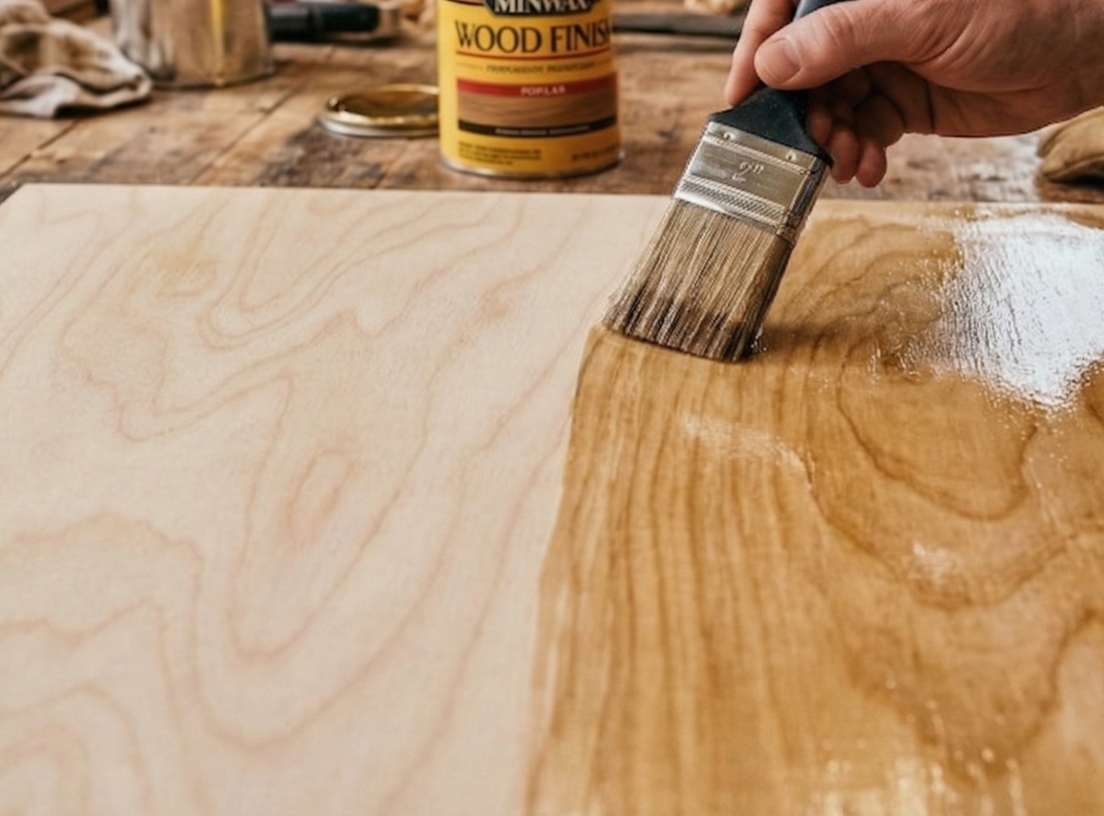
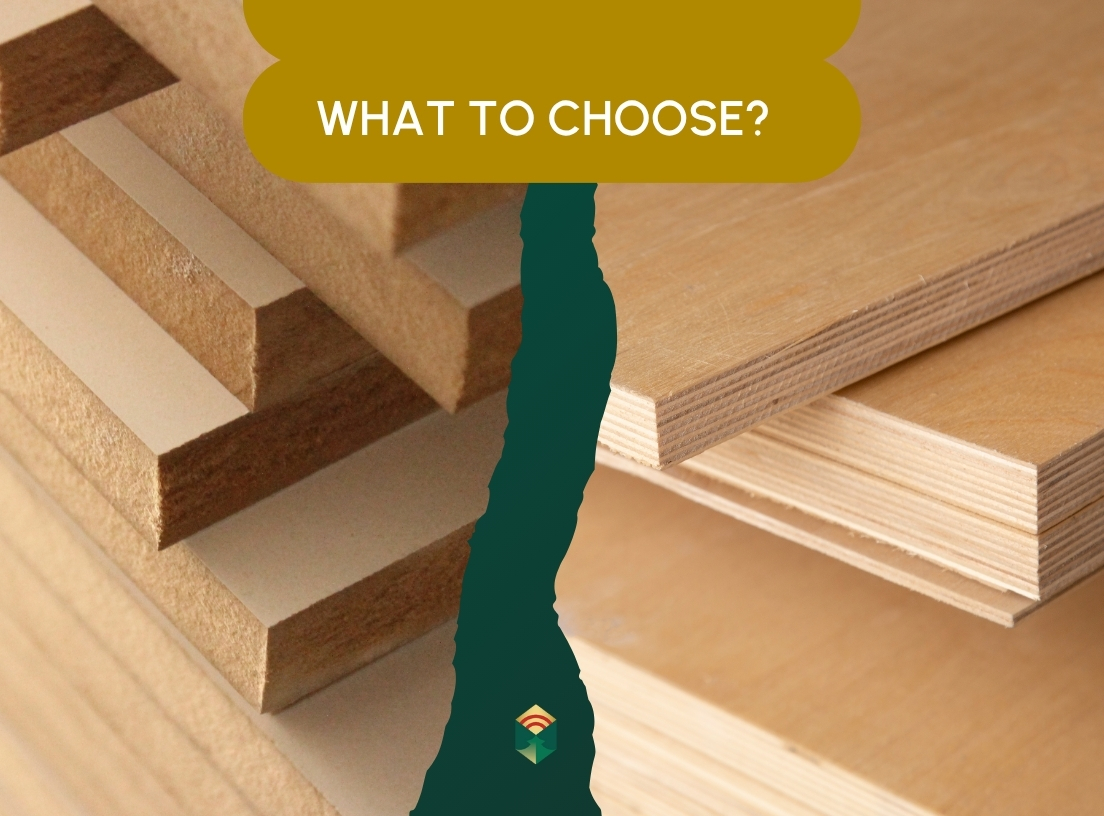
Starting with quality plywood also helps reduce splintering and improve your final finish.
You can find reliable hardwood plywood panels at Lowe's for your next project.


%20(1).png)
%20(1).png)


